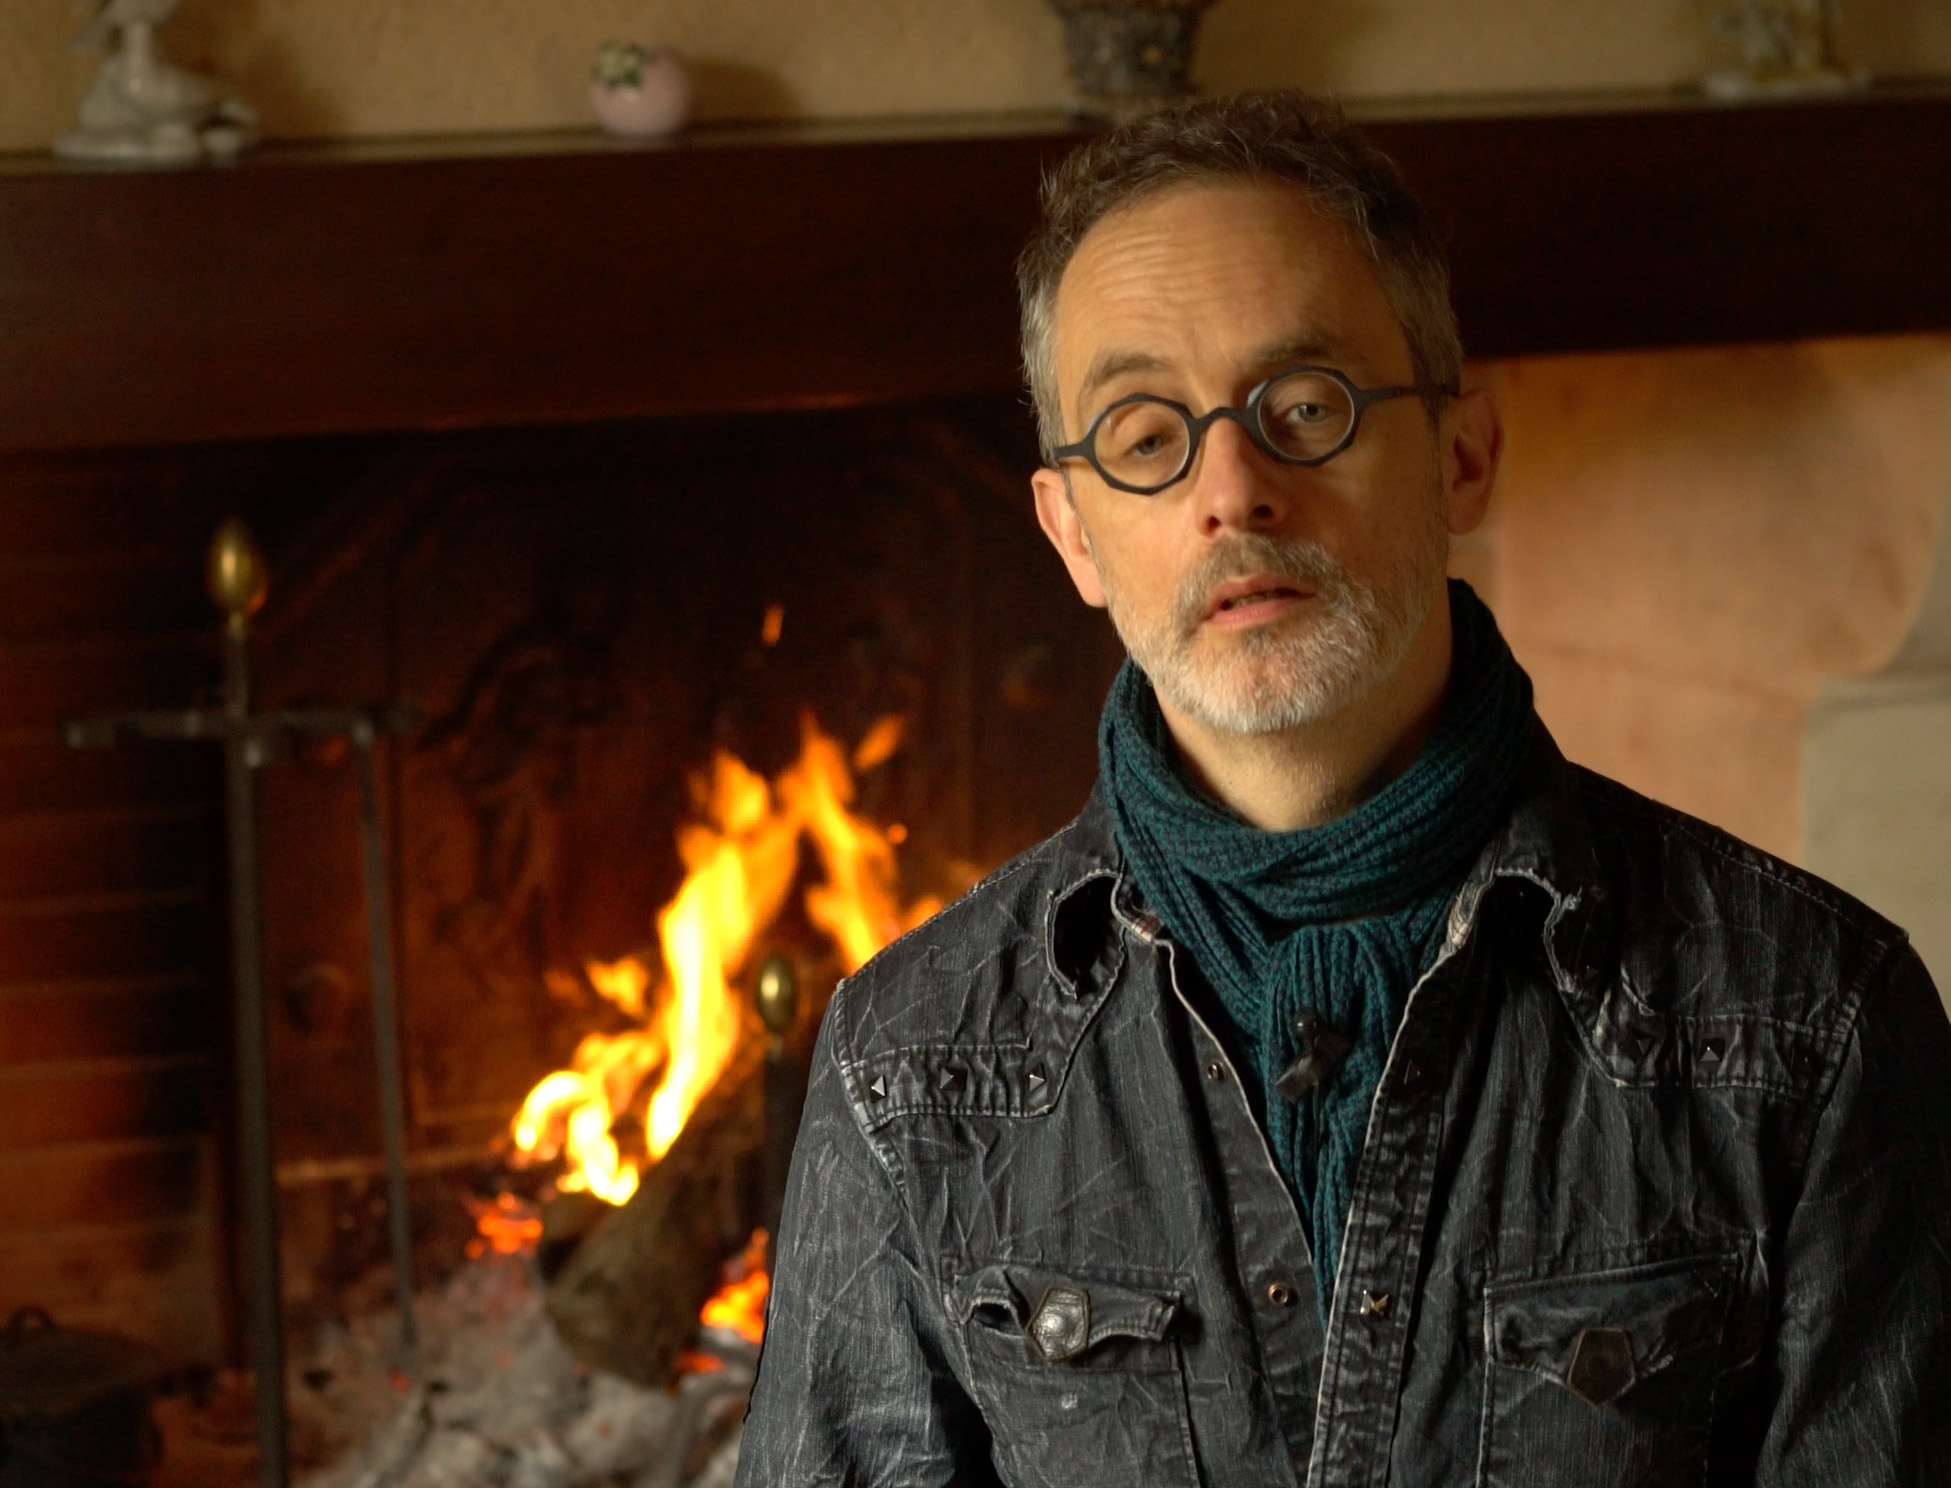


Just finished up a “Lumiere Espresso” coffee shop meet in Coimbra Portugal. It was well attended by some local photographers and was pretty dynamic with lots of discussions on photography. I started the session talking about lighting people since the participants were mostly people shooters. A number of them stopped me and told me that they don’t do any lighting, it is all available light. To this I said, but that is lighting and so all the more reason to have some understanding. You can get great results with just available light but getting there is way easier if you know how to light, otherwise you are at the mercy of what is in front of you. For my web subscription based “Dave On Demand” lighting tutorials, my last 4 training videos were all shot on the road in Europe, I used available light only because I was travelling without any lighting equipment and got some really great results (see rough screen shot grab from video above). The trick is to think of it the same way you would do your studio lighting:
Choose a main-light—when indoors I look for a dominant source like a window or door, position my subject relative to this source so that both eyes are lit, most of the time I turn the body slightly away from this source then have the subject turn their nose back toward the source. In many cases, especially if you are having to work fast, this is all you will have time to do, but just considering and acting on the above will render some good lighting. If there is time and if the location has it, proceed with the points below.
Add or subtract some shadow fill-lighting—if the shadow side of the face is too dark I open another window or door or turn on a room-light, if the shadow side is too bright then I block light to that side with a dark coat or blanket or if the fill source is another door or window, reduce by partial closing or by drawing the curtains. If the too bright shadow is filled in by room light and if I’m lucky enough that that light is on a dimmer, then dim it down I do.
Separation/Rim/Hair light—look for the same sort of sources as above, but they need to come from behind and need to be somewhat higher than the subject.
What about white balance?—Often you end up with different colour or white balances occurring i.e. cold window main-light with warm tungsten room fill-light, I balance for the main-light and let the other white balances fall where they may, it is usually a pretty look and is reality anyhow.
If you found the above helpful, start practising it right away, anytime you are in a new room, look around figure out where you might position your subject to make the best of what is available. Also I worry more about good lighting than a great background—crappy backgrounds don’t look too bad when thrown way out of focus at f 1.4 to f 4.0. Getting sharp images is pretty easy for me to do now with facial/eye recognition focusing on my latest camera.
All the best,
Dave